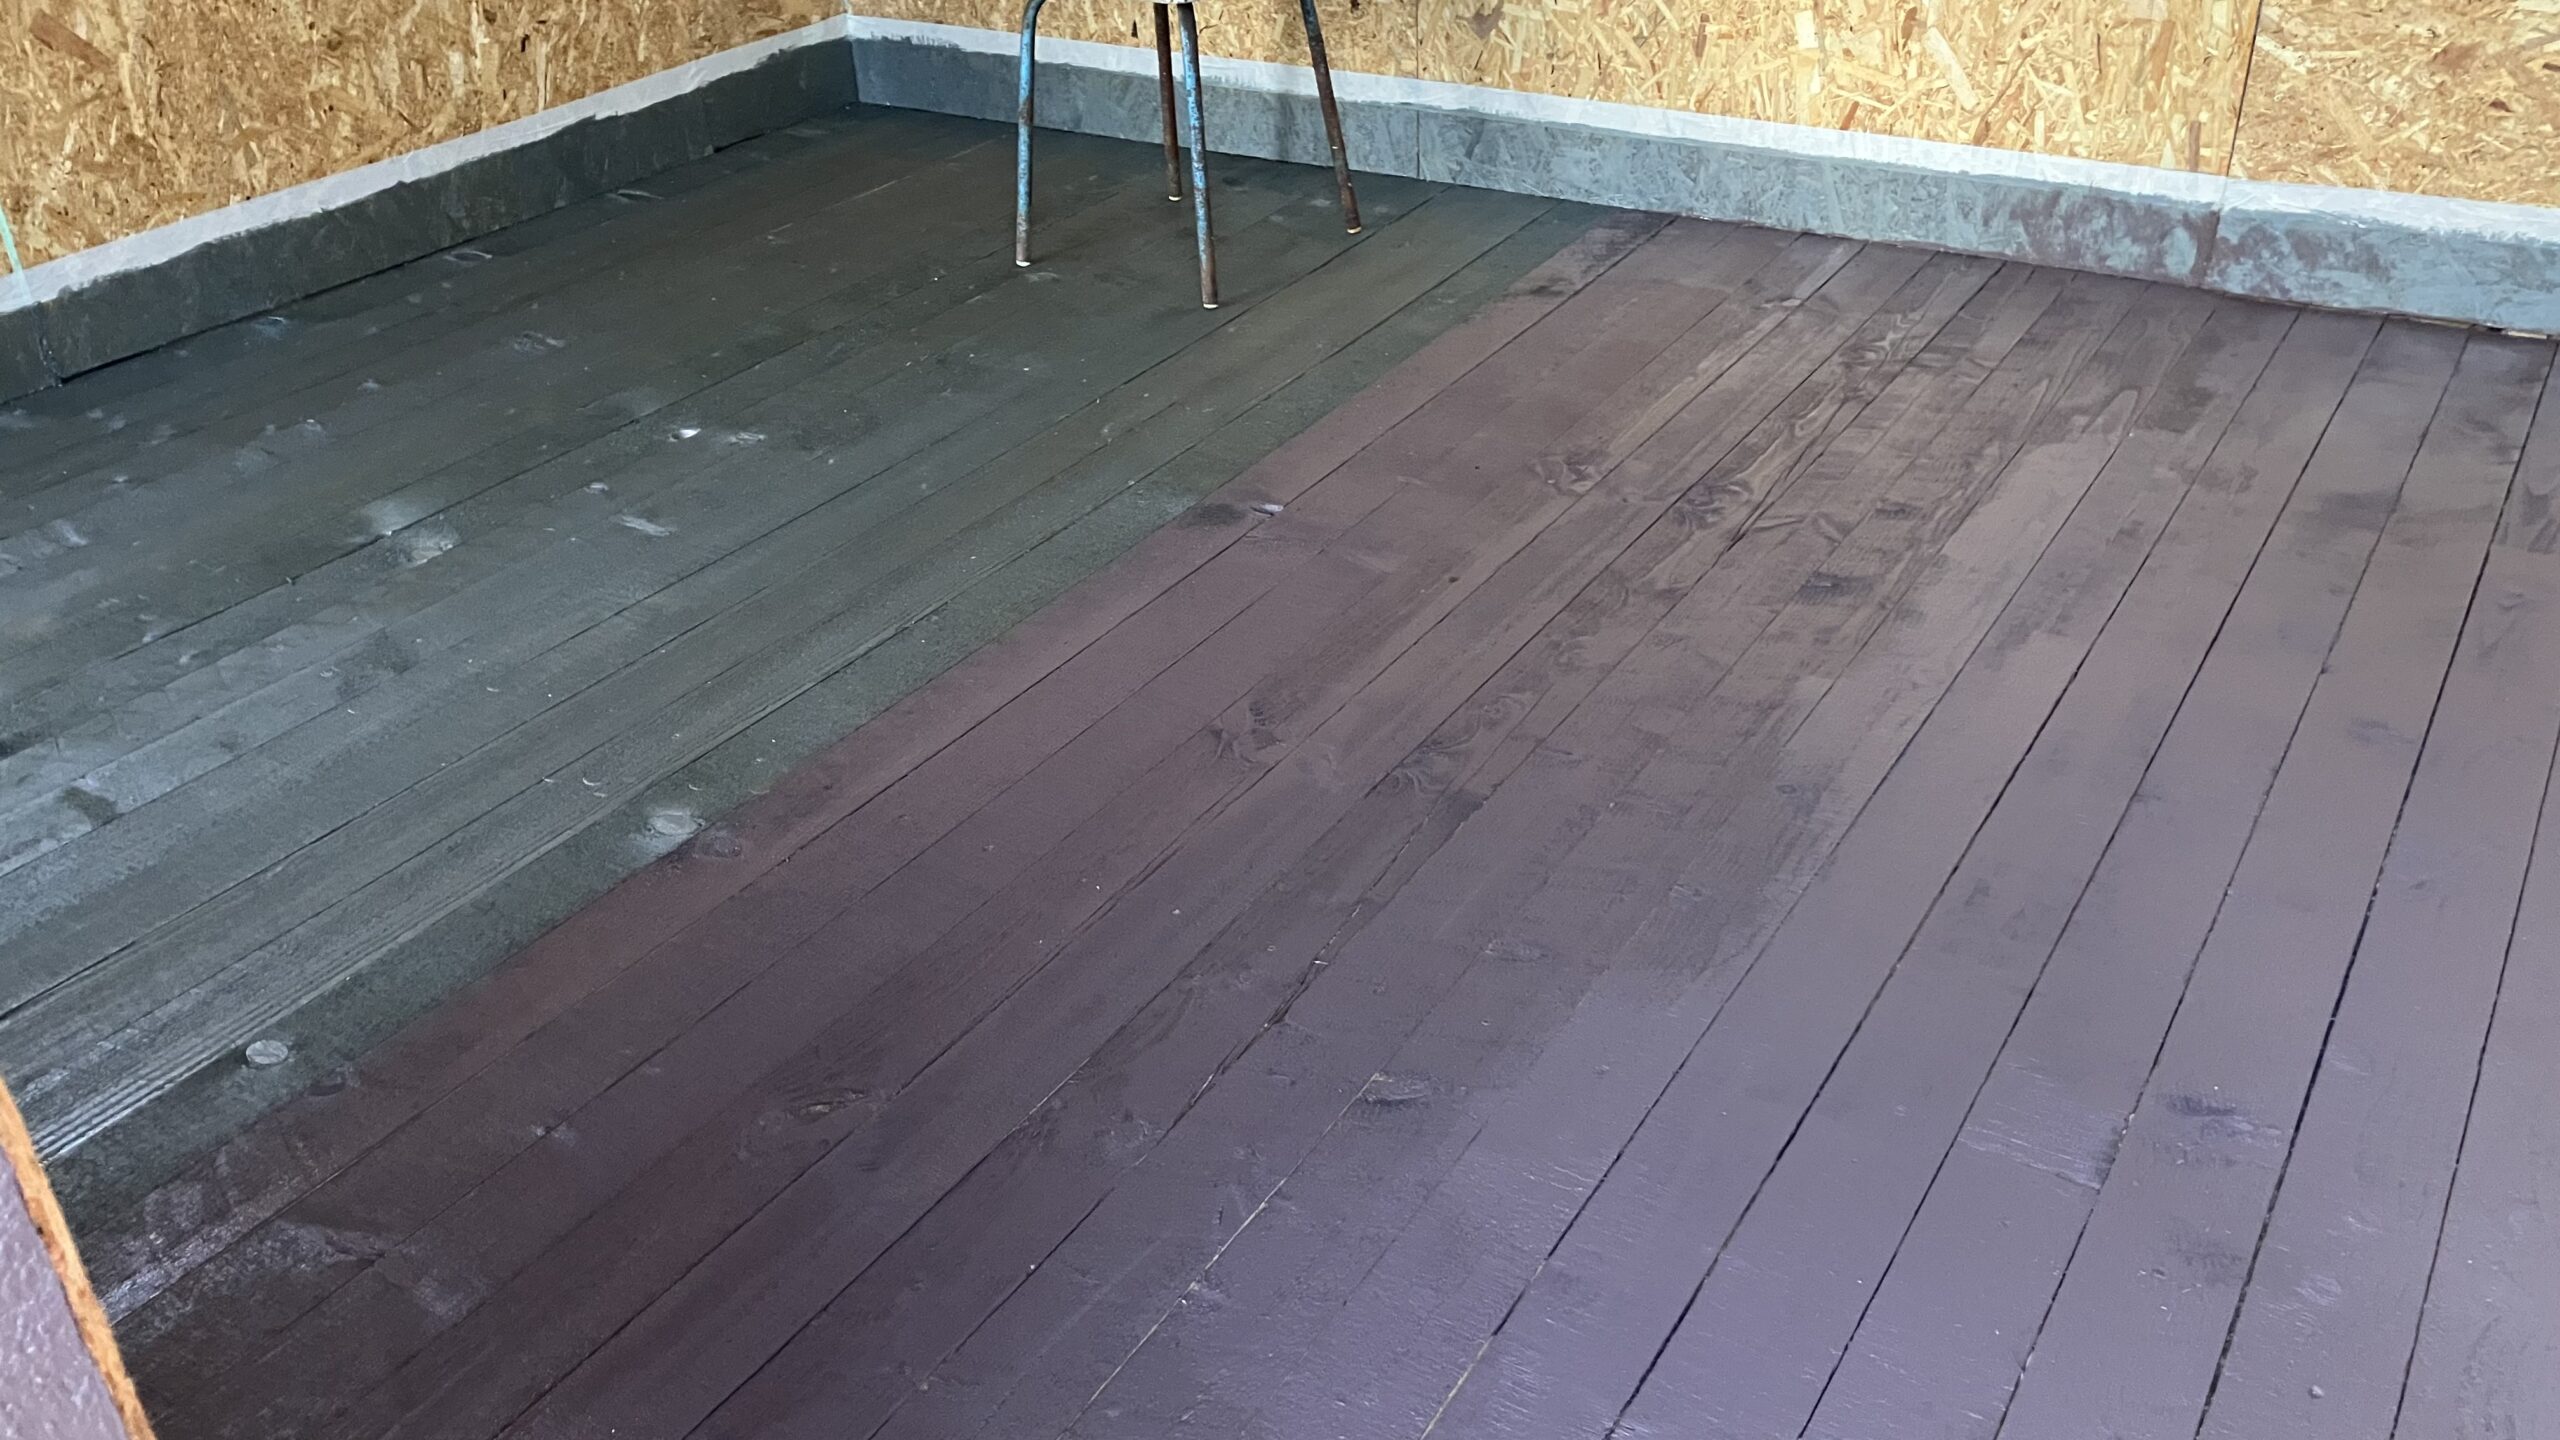
The paint brush is finally clean, the rollers are washed, and the sweet smell of fresh floor paint is filling the chicken house. We finished painting the floor today, and what a relief it is to check this major task off the construction list. After weeks of planning, building, and now finishing work, we’re finally approaching the finish line.
More Than Just Paint
This wasn’t just about making the floor look good—this was about creating a surface that will stand up to the daily realities of chicken life. Anyone who’s spent time around chickens knows they’re not exactly delicate with their living spaces. They scratch, they peck, they create dust, and let’s be honest, they make messes that need regular cleaning.
The right floor treatment means the difference between easy maintenance and constant frustration. A properly painted and sealed floor can be hosed down, swept clean, and disinfected when necessary. Without proper treatment, you’re looking at a porous surface that absorbs odors, harbors bacteria, and becomes increasingly difficult to maintain over time.
Choosing the Right Paint
Not all paint is created equal when it comes to chicken housing. We needed something that could handle moisture, resist scratching from constant chicken traffic, and stand up to regular cleaning with disinfectants. After researching options and talking to other chicken keepers, we settled on a paint specifically designed for agricultural and high-traffic applications.
The application process required patience—proper surface preparation, primer where needed, and multiple coats applied in the right conditions. But seeing the finished result makes all that careful work worthwhile. The floor now has a clean, professional appearance that should hold up to years of chicken activities.
So Close to Move-In Day
Hopefully we can get these guys in ASAP. That sense of urgency is real when you’re building animal housing. Every day the construction stretches on is another day your animals are in temporary or less-than-ideal accommodations. Our chickens have been patient with their current setup, but they deserve the upgrade we’ve been working toward.
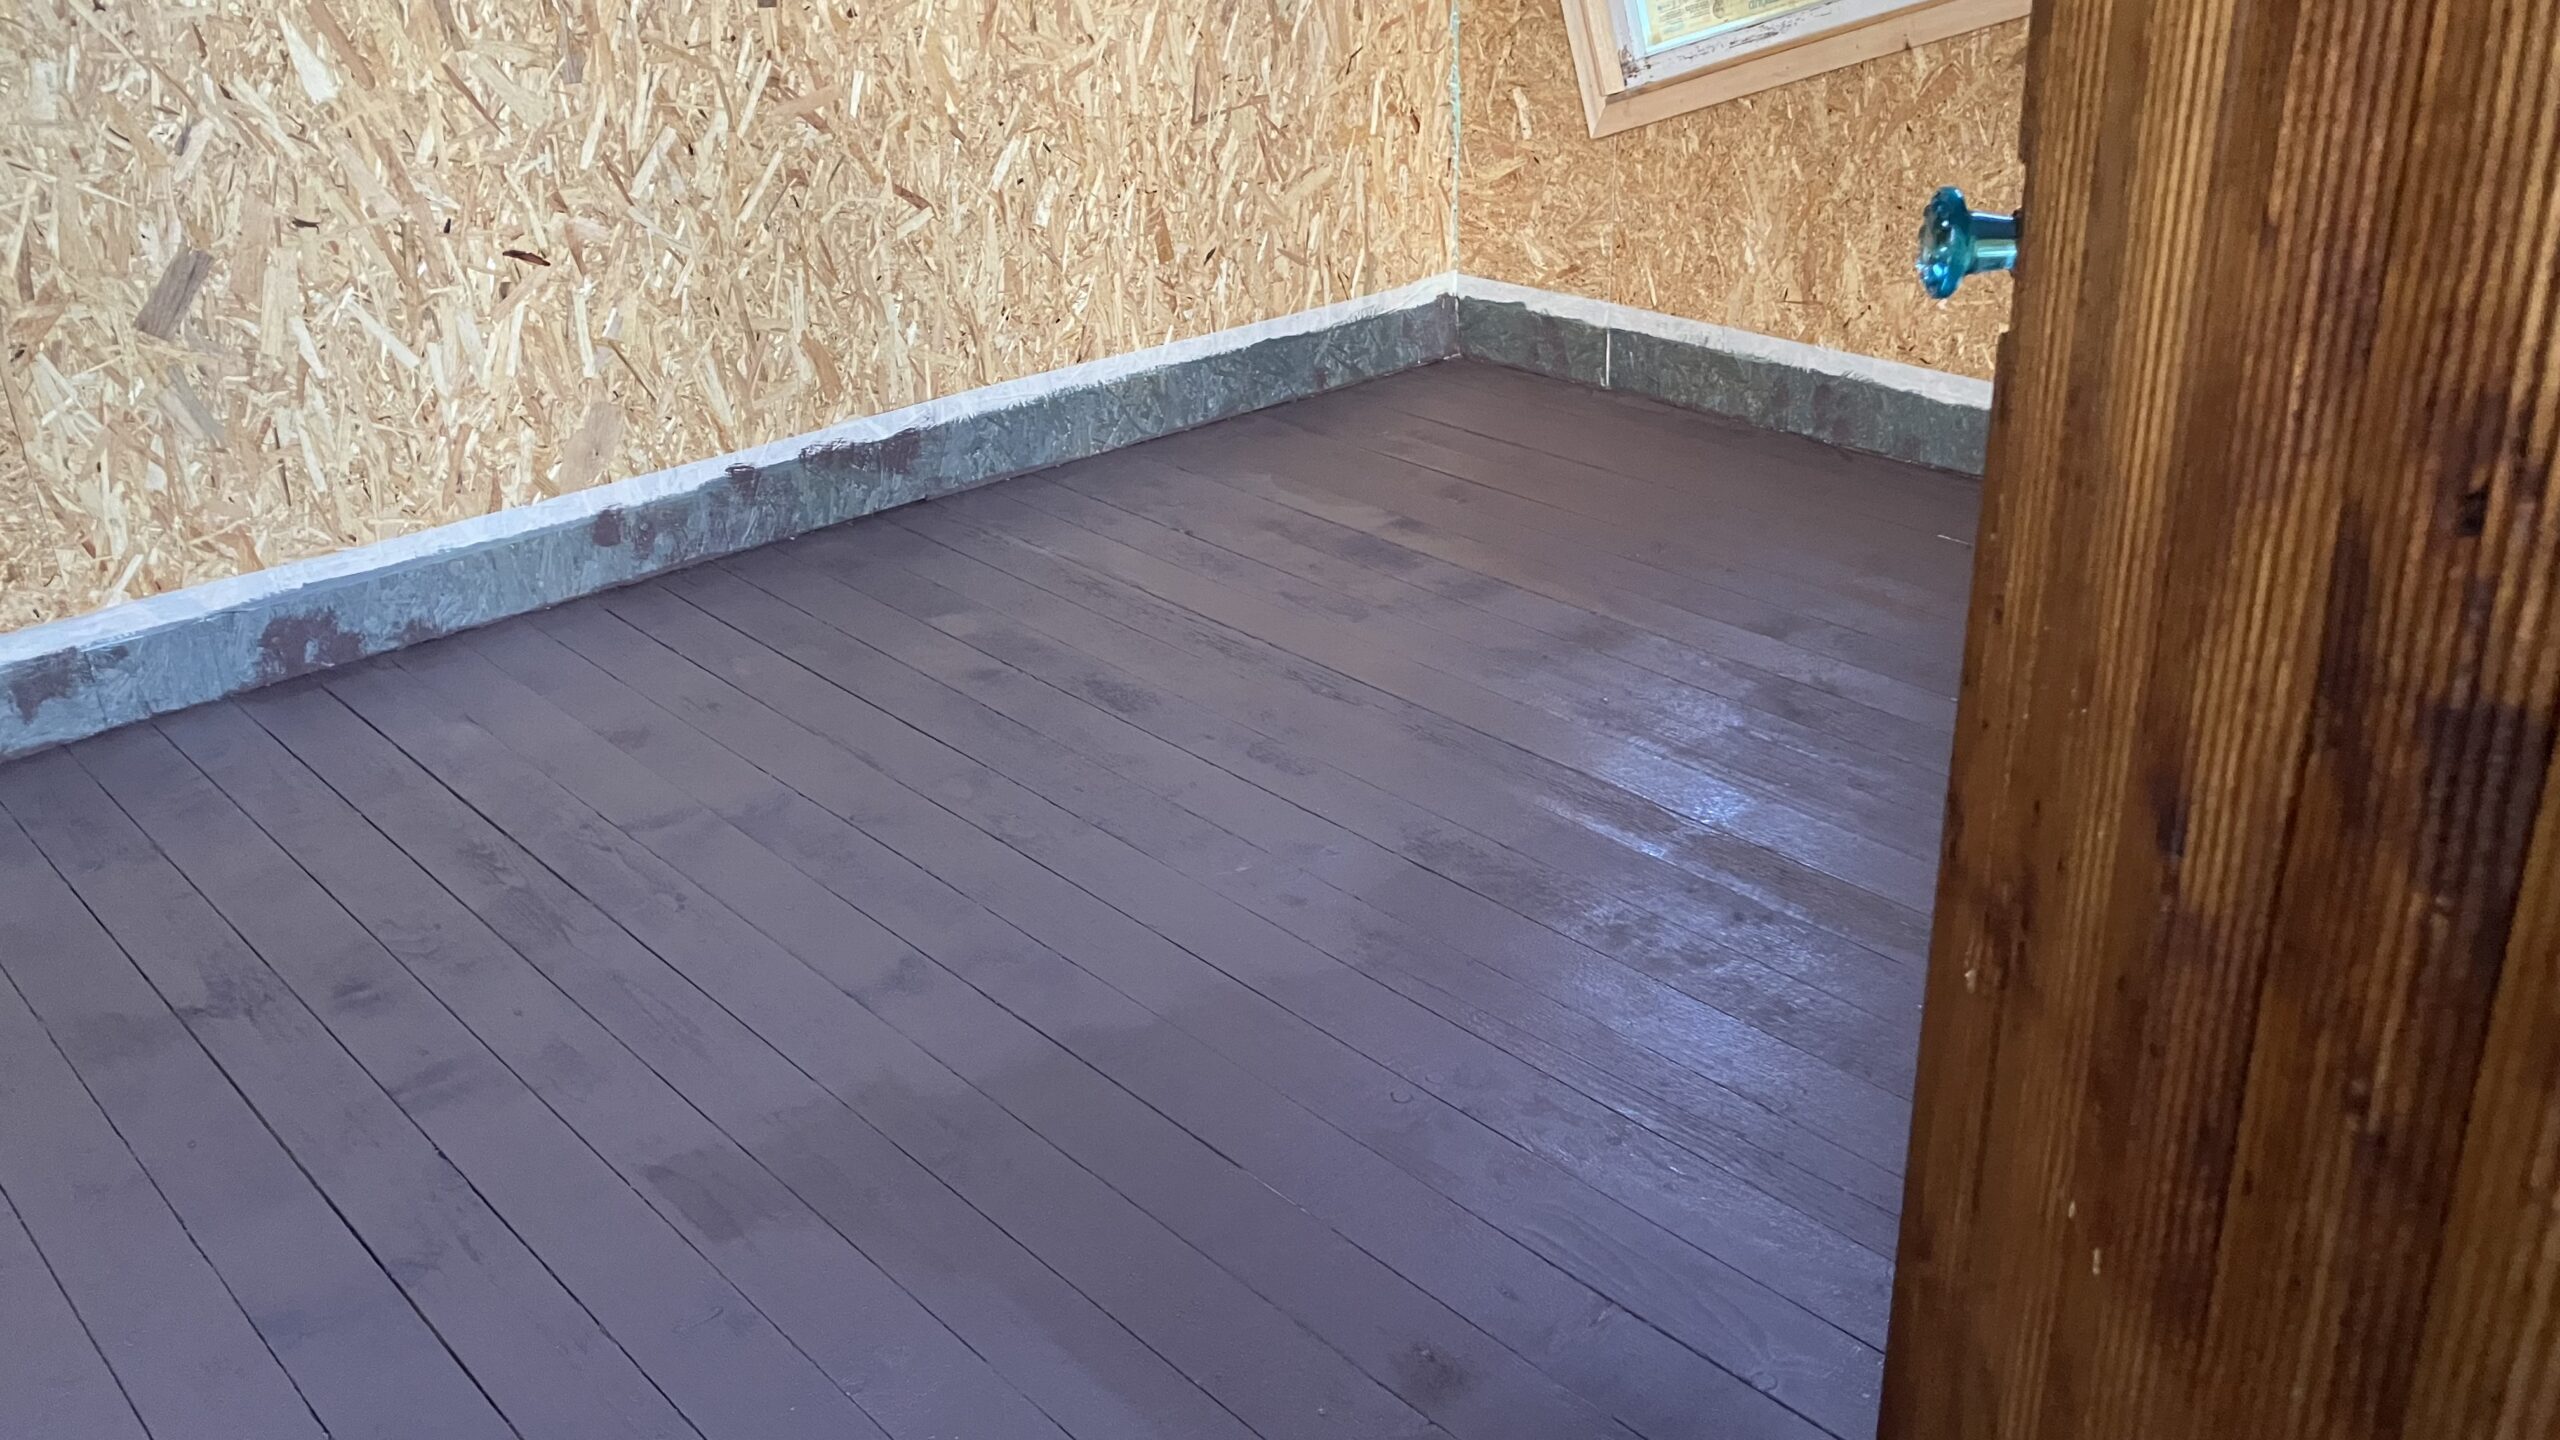
With the floor painted and cured, we’re down to the final details: installing feeders and waterers, adding bedding, ensuring ventilation is properly adjusted, and doing a final safety check of all the construction work. It’s exciting to be so close to completion.
The Satisfaction of DIY
There’s something deeply satisfying about building animal housing with your own hands. Every board cut, every nail driven, every stroke of this floor paint represents an investment in the well-being of our chickens and the long-term sustainability of our farm operation.
Store-bought chicken coops can be expensive and often don’t meet the specific needs of your situation. Building your own allows you to customize every detail: the size, the layout, the materials, the features that matter most to your particular setup and climate.
From Vision to Reality
When we started this project, the chicken house existed only in sketches and measurements scribbled on paper. Today, with the floor painted and gleaming, it’s becoming a real, functional building that will serve our chickens for years to come.
Each step of the construction process has taught us something new about building, about chickens, and about the problem-solving that’s constantly required in farm life. The painted floor represents not just progress on this particular project, but growth in our overall capabilities as farm builders and managers.
Final Countdown
With the floor complete, we’re in the final countdown to occupancy. The anticipation is building for both us and the chickens. Soon, this empty shell will be filled with the sounds of contented birds: the soft murmur of chickens going about their daily business, the rustle of birds rearranging bedding, the satisfied clucks of hens discovering a perfect nesting spot.
The floor is ready. Soon, the chickens will be too.
Are you working on any DIY farm building projects? Share your construction stories and tips in the comments below!
What’s been your biggest DIY farm building challenge? Tell us about your own construction adventures and lessons learned!